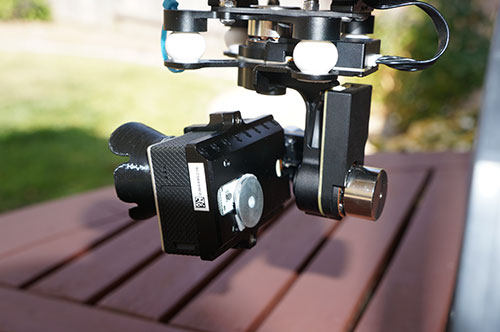
The H3-2D gimbal was not working out for me. I was not happy with the video quality with the gimbal. I bought a used H3-3D gimble from RCG for $300. The gimbal came with a GCU so it will work with any DJI flight controller but you will need to find a way to mount it to your frame. The guy I bought the gimbal from also included the mounting plate and hanger, so everything was pretty much ready to go.
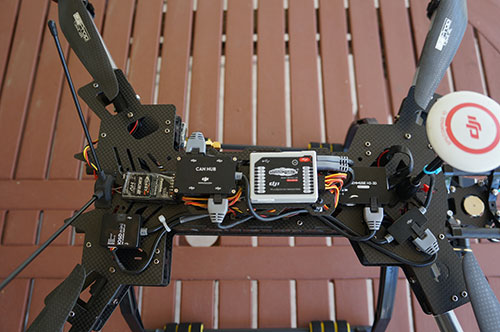
I no longer need to used the CAN Hub because I upgraded to a BTU LED light, so the LED light now has a built in BTU (same LED module as A2). I left the CAN hub there because all the cables are neatly tucked away already.
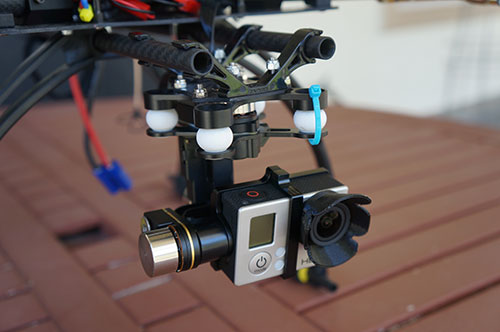
Here is a closed view of the H3-3D gimbal.
The carbon fiber mounting plate worked perfectly but I had to switch to a Tarot hanger because the one that was included used a different size rail.
I also picked up a 3D printed lens shade for the gopro. It helps a lot and it does with is suppose to do when it is sunny outside.
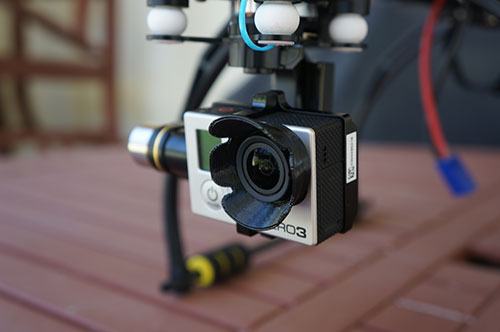
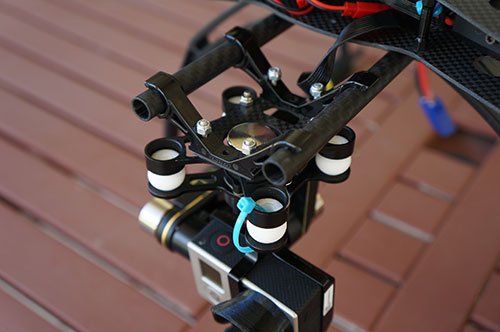
The 3D printed lens shade does throw off the balance of the gimbal. That is why I try to balance it with some double side tape and washers.
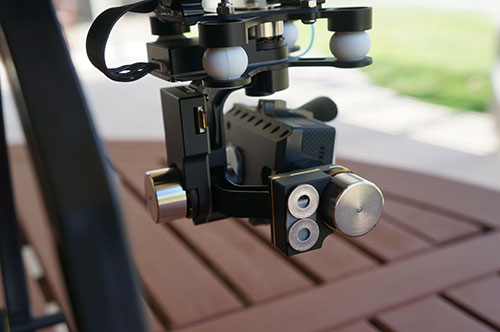
Here you see a larger washer on the backside of the gimbal.
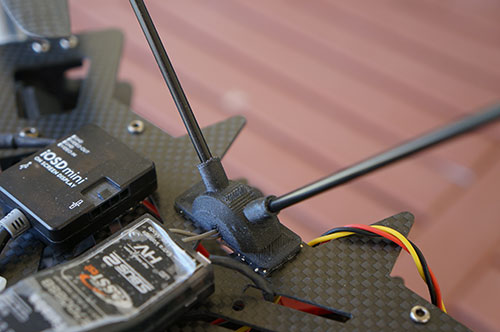
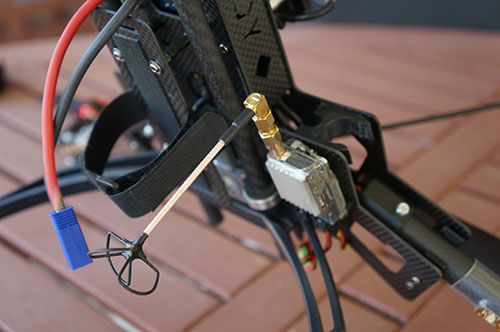
I really like the simple idea of the 3D printed antenna mount. It originally came with heat shrink instead the antenna tubes. I did not like how flimsy the heat shrink felt, plus the props are so close to the antenna that it came in contact once. Good thing it only cut the double layer of heat shrink and not the antenna. Now I like it a lot better with firm plastic antenna tubes.
Upgraded to a better Clover leaf 5.8ghz video antenna.
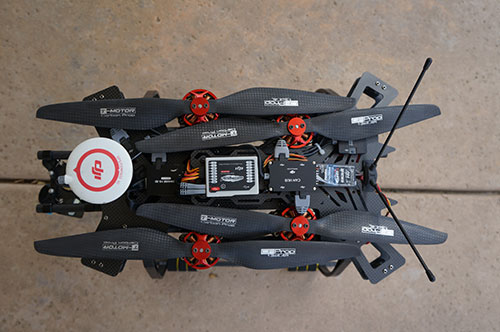
This is nothing new, but I am only showing how I mounted the LED lights to each arm.

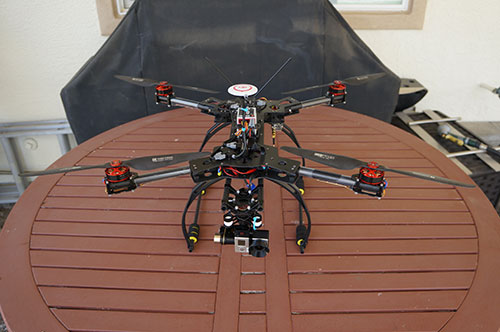
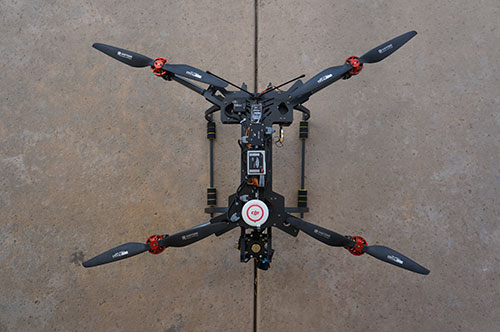
So here it is, the finished quad with its arms spread out.
And now with the arms folded.
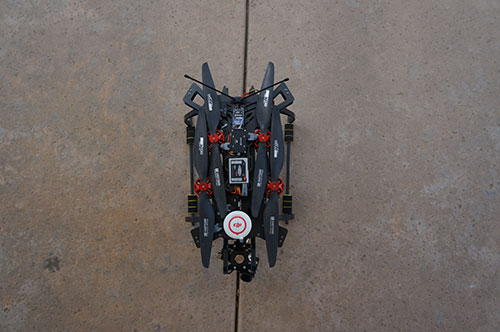
Here is a close up with the arms folded.
More updates coming soon!! |