Here is a list of all the components I bought for this quad:
- HJ-H4 Reptile Quadcopter
- Naza M V2 with GPS
- SunnySky v3508 580KV
- ZTW Spider 30A OPTO ESC w/ SimonK
- Distribution Board w/ BEC
- Distribution Board
for LED lights
- Vibration Dampers
- LED lights
- 13x5.5 T- Style CF Props
- Quick Release Prop Adapters
- 3D Printed Antenna Mount
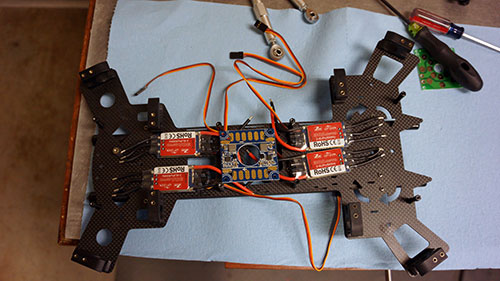
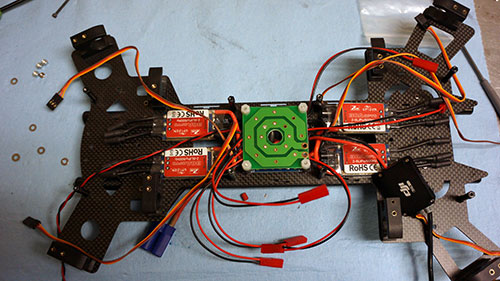
After taking the top plate off the quad I plan to place the ESC and Distribution Board as shown below.
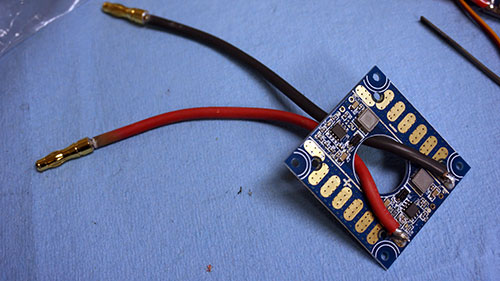
Here is a close up shot of the Distribution Board with BEC.
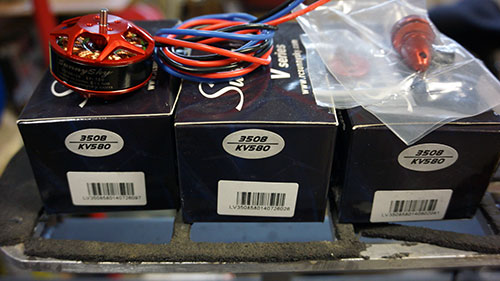
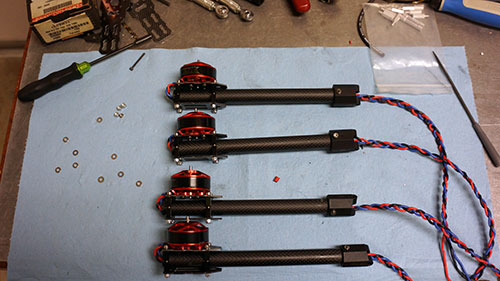
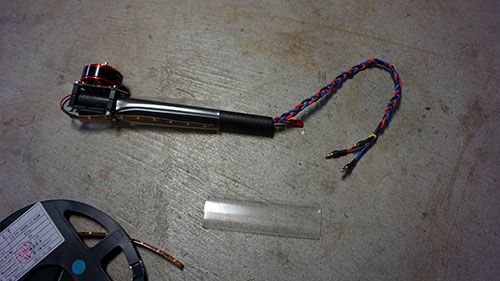
There are the SunnySky v3508 580KV motors I will be using. I wanted to use the 4s lipos I have already so that is why I am using the 580KV motors. For better efficiency I would have gone with SunnySky V3508-29 KV380 motor instead, but I did not want to buy all new batteries.
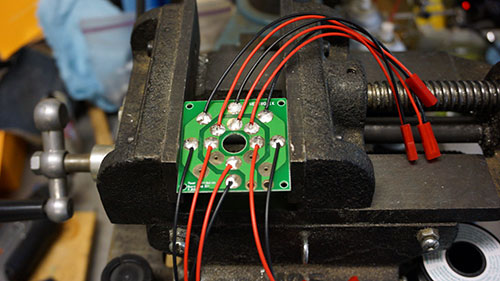
I will use this second Distribution Board for all the auxiliary items and LED. Basically anything that needs 12v I would take the power from here. Since I am planning to use a 4s lipo 16.8v is too much voltage for any accessory.
There are vibration damper that I will use to sandwich the 2 Distribution Board together.
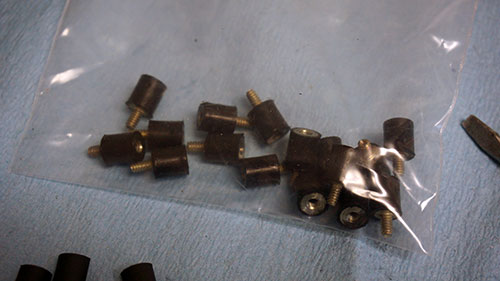
I plan to mount the IMU to the top for the Distribution Board so that is why I am using the vibration dampers between the two boards. I hope this will help soak up any unwanted vibrations from the motors.

Here is a top view of the Distribution Board mount to the frame.
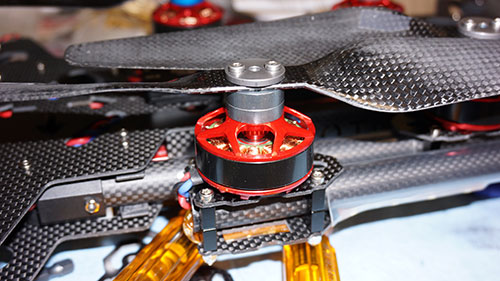
The motors are mounted and ready to install.
Waterproof LED light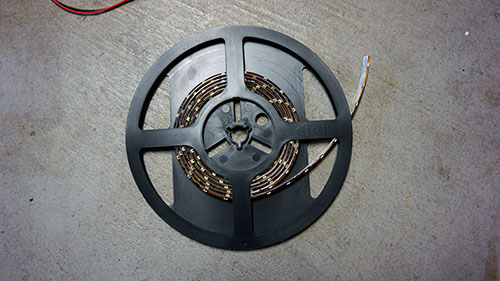
A small strip of LED lights with JST connectors.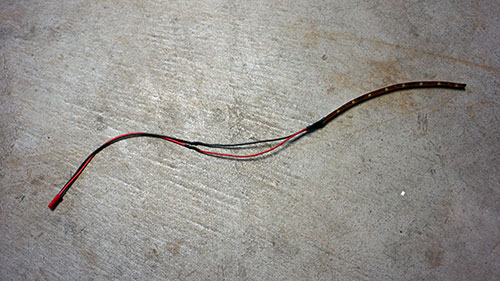
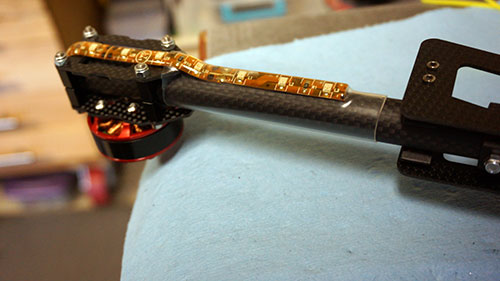
Here I used heat shrink to hold the LED strip along the arm.
It looks like a mess but this is how it looks with everything placed in position.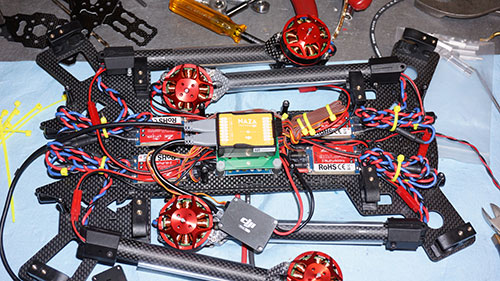
The frame is back together with everything hooked up.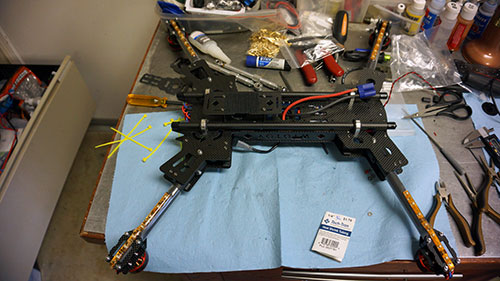
The LED lights does not stick too well, so the cleanest way to hold the LED lights is to use clear heat shrink around it.
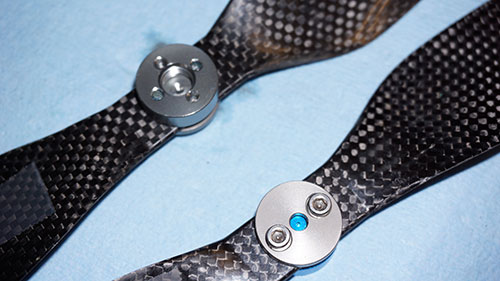
These are self tightening prop adapters that I make the install and removal of the propeller really quick. But the quality of these adapter are so bad that I never got further than taking the pictures you see here. The problems I was having is that I cannot tighten the adapters enough because the thread is so shallow that it would slip.


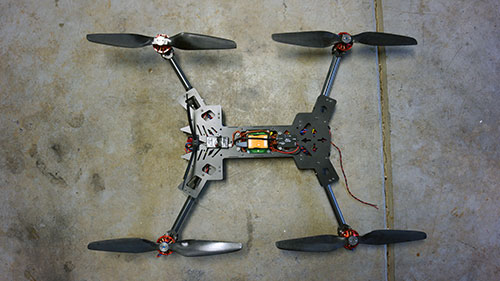
Here is the quad with 13' props in the closed position.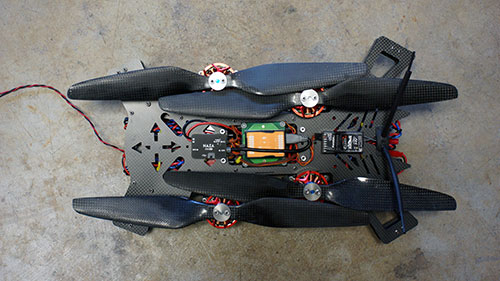
And here is the quad with the arms extended. I think I could possible fit 15" props if I really wanted to.
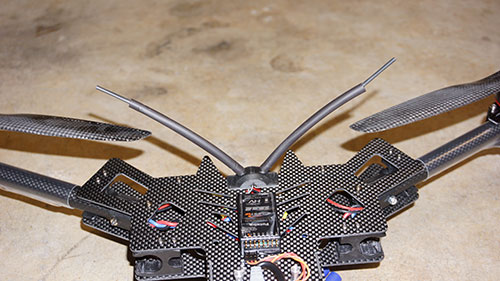
The antenna mount is a simple but very cool looking 3D printed mount. I bought this from a guy on RCGroups.
Originally I was planning to use a Naza v2 with this frame but I am not sure what happen but it was not flying the way I like it. It did not seem very stable during my initial tests. More update coming soon... |